
5 Common Mistakes Companies Make When Installing Interactive Flat Panels, & How to Fix Them

Daisy Li
Display Solutions & Product Technology Expert
Specializing in OEM/ODM smart display solutions from 21.5″ monitors to 110″ interactive flat panels, with expertise in product configuration, system integration, quality control, and bulk project delivery for global B2B markets.
Follow me:
Your conference room recently invested a large-format interactive flat panel, complete with high resolution, multi-touch capabilities and wireless casting capability. Then the installation day arrives, and things start going sideways: the screen is mounted too high for anyone to reach, cables are trailing across the floor, and the laptop won’t connect.
After working with dozens of meeting room setups, we’ve seen the same handful of mistakes come up again and again. Here’s what to watch out for, and how to get the installation right the first time.
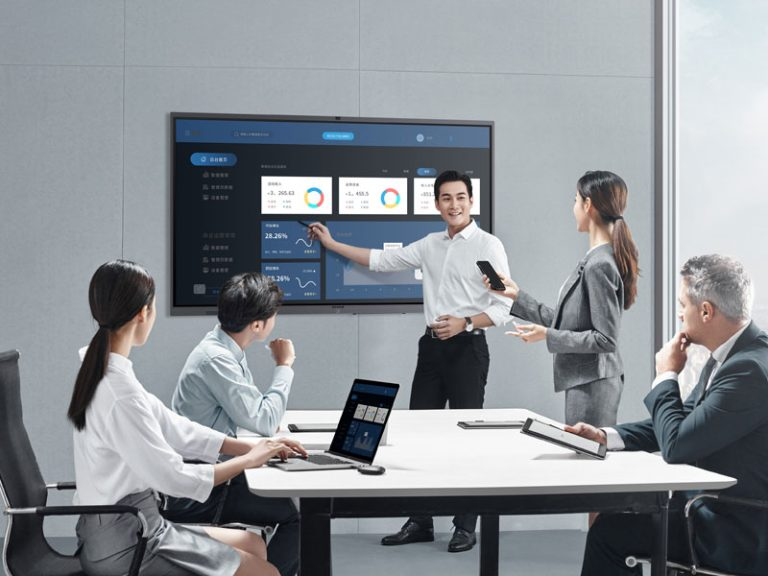
1. “The Screen is Too High to Touch!”—Poor Interactive Flat Panel Placement Planning
One of the most ignored components of interactive flat panel installation is simply: where does it go? Getting the arrangement of the conference room screen wrong can effect everything from comfort to usability.
How to Locate the Ideal Spot for Conference Room Screen Placement
- Match the display height to natural viewing angles: For most seated participants, the center of the screen should roughly align with eye level. The panel must not be mounted too high, because it causes neck strain and makes the touch surface difficult to reach. If you are using it for standing circumstances like whiteboard sessions, you’ll want the center to be typically around 150-160cm off the floor.
- Choose the right screen size for the room: A 98-inch panel in a six-person huddle room creates awkward viewing angles. A 65-inch display in a 30-person boardroom won’t serve remote participants well. Match screen size to viewing distance. As a general guideline, the optimum viewing distance is around 1.5–2× the diagonal measurement of the screen.
- Check wall structure before mounting: Drill only after checking that the wall can support the panel weight. Plan cable routing and power outlet locations at the same time. If the wall is non-load bearing, a good movable stand is a completely valid and adaptable alternative.
2. “Tripping Over HDMI Cords”—Neglecting Interactive Display Cable Management
It’s not only that messy cables appear unprofessional, they’re also a real safety hazard. A mess of HDMI, USB and power cables spread out over a conference room floor is the sort of thing that ends with someone falling over halfway through a presentation. Every solid meeting room display installation strategy covers interactive display cable management before a single hole is drilled.
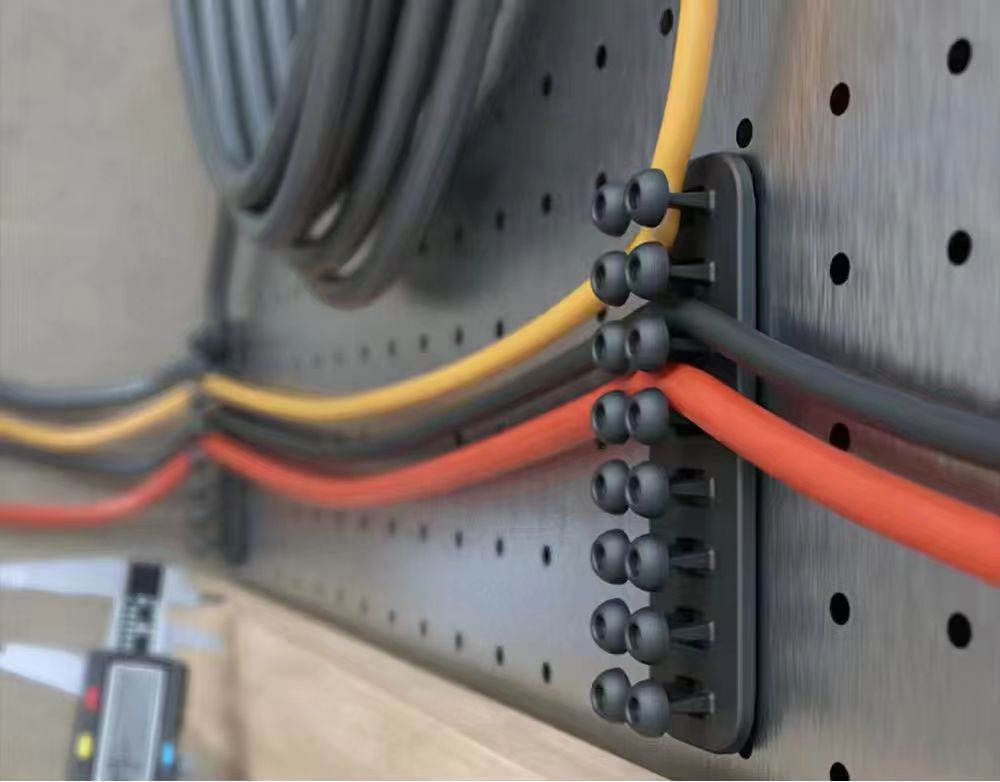
Pro Tips for Clean and Safe Wiring
- Use recessed wall boxes (clock outlets): Install a flush-mount recessed power and interface box directly behind the panel. This keeps all connections hidden and accessible without surface-mounted conduit.
- Invest in floor grommets: If cables need to run through a conference table, pre-plan cable pass-through grommets during any renovation or table installation phase—retrofitting them later is much harder.
- Go wireless where possible: Modern interactive flat panels support wireless screen sharing protocols built into the system. This reduces cable clutter and makes the room more flexible for different types of devices.
3. “Why Won’t My Laptop Connect?”—Failing to Plan for Connectivity
The fastest way to kill a meeting is a 15-minute dash to get a laptop on the screen. Network conditions and cable compatibility concerns are the most common causes of interactive flat panel connectivity problems, both of which are fully preventable.
Quick Diagnostics for Interactive Flat Panel Problems
| Symptom | Common Cause | Quick Fix |
| Screen sharing lags or drops | Weak 2.4GHz Wi-Fi interference | Switch the panel and devices to a dedicated 5GHz network |
| “No Signal” on USB-C | Non-video-capable cable | Use a Thunderbolt or DisplayPort Alt Mode USB-C cable |
| Touch isn’t responding via HDMI | Missing USB touch cable | Connect the Type-B USB cable alongside your HDMI for touch feedback |
For ongoing interactive flat panel troubleshooting, always check first for driver updates and firmware upgrades, and many signal and touch problems clear themselves with a simple system update.
4. “The Pen is Drawing in the Wrong Spot”—Rushing the Initial Setup
Getting the hardware on the wall is just step one. Skipping the interactive flat panel setup process—calibration, firmware updates, home screen configuration—leads to the kind of unpleasant day-to-day problems that erode your faith in the whole system.
The 5-Minute Setup Checklist You Shouldn’t Skip
- Get the touch aligned properly: Use the built-in calibration method, and check that the annotations are accurate even in the corners of the screen. A pen that draws 2 cm off from where you actually tap makes the whole system feel unreliable, and it’s one of the most common complaints we get following a fresh setup.
- Update the firmware immediately: Factory firmware may be several versions behind. Connect to the network and apply all available updates. This alone fixes a surprising number of early interactive flat panel difficulties.
- Set the right permission levels: In shared meeting rooms, locking off admin settings is a way to avoid well-meaning coworkers from inadvertently altering display sets. Keep the home screen simple because cleaner interface means faster meeting starts.

5. “I Can’t Read the Slides!”—Ignoring Room Lighting and Glare
Floor-to-ceiling windows are a selling element of modern offices. They can be a nightmare for interactive flat panels. It doesn’t matter what the resolution is if the screen becomes a mirror every afternoon.
How to Beat the Glare for Good
- Perpendicular placement: Put the panel at right angles to the main window, not facing it and not with it behind. This simple modification resolves most of the reflection difficulties.
- Adjust overhead lighting: Spotlights mounted over the screen shine light directly into viewers’ eyes. Use indirect ambient lighting to reduce screen reflections.
- Check the glass specs: That’s where the choice of hardware really matters. Anti-glare glass on displays will always outperform a normal panel in a brightly light conference room—definitely check that one before you buy. Tenfly’s interactive flat panels offer anti-glare display specifically designed for high-brightness business environments.
Ready to Transform Your Meeting Spaces Without the IT Headaches?
These five mistakes are common, but they’re not inevitable. The difference between a panel that gathers dust and one that truly enhances the way your team works together is good planning, location, cabling, connectivity, setup and surroundings.
Choosing the right manufacturing partner also plays a major role in avoiding these installation issues. With over a decade of experience in monitor production, we operate dedicated interactive flat panel assembly lines supported by a unified supply chain and structured quality control system.
Contact Tenfly today for a free consultation.